Bath Leisure Centre review since re-opening

Teacher Lisa headed to Bath Leisure Centre and she shared her experience with us.


I wanted to write a post about my first swim since the pools have reopened from Covid-19.
I decided to go to Bath Leisure Centre (N Parade Rd, Bathwick, Bath BA2 4ET).


Booking

Bath Leisure Centre are not taking calls at this time. For enquiries, they direct you to their website. To book online you need to create an account for each user.


The swimming slots are in 10-minute windows, but you get an hour for your swim.


I chose the fitness swim at 14:50 -15:00pm which cost £6.00 for an adult. I took my 13 year old daughter Bliss, and her swim cost £4.00 for a child. Bliss is a competant swimmer.


At this time, as we understand it, swimming for beginners and non-swimmers is restricted.


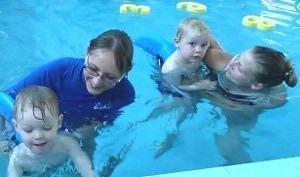
Adult and child swimming

Better Bath Leisure statement reads:

During the interim phase of reopening we will be focusing on our Swim For Fitness sessions. Time slots in these sessions will need to be booked individually and are available for juniors but they must be competent swimmers, able to swim consistently in a lane swimming environment.

Some leisure centres will offer Adult and Child Swim sessions in selected pools over the weekend where every adult booking a slot will be able to bring up to two children at no extra cost. Please check for available sessions via the Better UK app.


Parking

Bath Leisure centre has a pay and display carpark. Parking is easy and it cost £3.60 for 2 hours.


Entrance

There are plenty of signs to direct you. The staff behind the screened desk were helpful. A member of staff guides you through the turnstile where you are able to sanitize your hands.


Buy your locker token before you enter the changing room

As you go through the turnstile, there is a card payment machine to buy tokens for the lockers. Tokens for the locker are 30p and are non-refundable.


Changing areas

The changing areas are clearly signposted with one-way directions. There are cleaning stations available with blue roll and disinfectant to clean your cubicle.


Swim England advise you go to the pool ‘beach ready’ with your costume underneath your clothes, so myself and my daughter just popped our bag into a locker and headed to the poolside following the arrows marked.


Poolside

There is one-way system round the main pool. At the time we went, the leisure pool was closed.
The pool is 25m long and split into 3 double lanes. The lanes permit a max of 10 swimmers per lane and are clearly signed slow / medium / fast and direction of swim.
Myself and my daughter were very lucky as all 3 lanes only had 2 swimmers in each so it was a lovely swim.


After the swim

Once our time was up, we headed back to the changing area which was not busy at all. There are a couple of showers available and toilets  are also open. I sanitised our cubicles before changing and we headed out of the leisure following the exit signs which led us to the rear of the building to the car park.


All in all…

I have to say our visit was made easy! Both myself and my daughter felt comfortable and pleased to be back in the pool. So much so, I have booked another session.


If you are in two minds whether to go or not… I would say go for it!


Swimming basics: Blowing Bubbles and Kicking Legs | Swimcentral

Swimming basics: Blowing bubbles and kicking legs

Stage 1

Blowing bubbles and kicking legs is what makes every swimming stroke go! It coordinates movement and breathing. At the beginning, it’s a bit like trying to pat your head and rub your tummy at the same time. A little practice at the wall will help establish good habits once they start swimming away from it.

To give it a go, a swimmer should already:

  • Feel comfortable with water on the face
  • Be able to hold onto the wall
  • Have tried the kicking movement while sat on poolside

Fast, small kicks with relaxed feet will hold the body up in the water. Blowing bubbles in a pattern will help control breathing.

Our Guide to Blowing Bubbles and Kicking Legs

  • Feet on the floor, facing the wall
  • Stretch arms out straight, and hold onto the wall for support
  • Put your face into the water between your arms start to blow bubbles
  • Walk legs backwards until they float up straight behind you
  • Kick legs straight up and down
  • Keep feet relax and floppy—little splashes!

How to stop

  • Pull yourself towards on the wall

….and at the same time…

  • Tuck your knees up to your chest
  • Lift your head out of the water
  • Feet flat on the floor

You’ve done it!


Practicing with children?

  • Try letting kids hold your hands for support instead of the wall.
  • Or get in position side by side at the wall and practice together.
  • Make it fun: Blow bubbles in a song pattern such as the ABCs or Jingle Bells!

Mastered Blowing Bubbles and Kicking Legs? Why not try the Star Float on the Front?

Finding this skill tricky? Have a go at Floating on the Back in Shallow Water.

Swimming basics: push and glide

The best way to start

As for all strokes really, the first place to start is with a ‘push and glide’ through the water. To achieve this, you’ll need to be able to:

  • Understand your own buoyancy
  • Happily move away from the wall/floor and let the water support you
  • Place your face in the water

A push with the feet from a wall or floor will propel the swimmer forwards.


Here’s our guide to a push and glide!

Push and glide, step by step

  • Feet on the floor with knees bent or feet flat against a wall. You can hold onto the wall with one hand for support if you like.
  • Breathe in and place your face in the water
  • Stretch both hands out in front of you, making a triangle.

…and at the same time…

  • Push off with your feet, straighten out legs
  • Hold that position for as long as you can and ENJOY your glide!

How to stop…

a

  • Push down on the water with your hands and lift your head

….and at the same time…

  • Bring your knees up to your chest
  • Feet flat on the floor
  • Pat yourself on the back, well done!

For some beginners

This can be a daunting task. It means letting go of the side and relying on the water to support you. Practicing will bring success; lots of encouragement and support will guarantee it.

Too tricky? Have a go at this…

a

Try holding onto the side, placing your face in the water and just allow your feet to come up to the surface. Practice this a number of times until you start to feel confident.


Practicing with children?

  • Glide together to start with.
  • Glide a short distance towards the wall.

They will feel more comfortable. Just think how you’d feel if you had to venture out into a large expanse of water on your own! Show them the goal to begin with and you’ll find them much happier to try this technique!


What to look for:

  • Spine should be flat with face in the water up to the hairline.
  • Arms should be straight and hands joined at the top in a ‘rocket’ shape. Fingers extended.
  • Legs should be straight, not bent at the knee and toes pointed.

Correcting common problems:

If the swimmer is nervous, you’ll see them quickly flick their heads back as they come up. You’ll see tension in their body as they hold themselves rigid in the water. They will be more likely to cling to you.

If this happens:

  • go back a few steps until they are confident
  • practice putting faces in the water until this action becomes more familiar
  • go back to gliding to the wall together
  • try shortening the distance of the glide

What to expect from your first swimming lesson and what you as parents can do to help.

Can you still remember your first swimming lessons?

Good or bad, swimming lessons can leave a lasting impression on a child. Are you planning your child’s first swimming lesson? If so, here are a few ways parents can make sure they have chosen a quality swim school.

Great swimming lessons mean a lifetime of fun in the water

Great swimming lessons can mean a lifetime of fun in the water!

A swimmer’s first lesson should be a fun, enjoyable and active experience. Everyone is apprehensive at the start of a new term and with an excellent teacher, a swimmer will be made of feel comfortable from the very beginning.

So how do you know if your child’s receiving quality teaching?

Here’s an easy way to find out…

You measure success by the happiness of the swimmers in the class.  Look at the other swimmers in the group – are they all quiet and miserable or are they excited, bubbly and enthusiastic? You’ll quickly have your answer.

Children are more alert and focused in fun swimming lessons which engage their enthusiasm and allow them to discover the water during play.


The key skills

The beginners’ lessons are all about these key skills and they are all interlinked:

Mobility – how the swimmers move around in the water, do they cling to the side or paddle boldly into the middle?

Water confidence – Do the swimmers cry out or flinch when they are splashed, can they put their faces in the water?

Buoyancy – Can the swimmers trust the water to support their weight? Do they hold themselves rigid like statues or are they relaxed to the point of falling asleep?

From the first lesson, your teacher begins to build up a series of good experiences around these skills. Each swimmer will feel engaged in the sessions and step-by-step, they learn the techniques necessary for a lifetime of wonderful swimming.

Needs and fears of each swimmer

4x300

Your teacher will understand the needs and fears of each swimmer. They will be able to tell when someone is apprehensive about an activity and they will encourage and reassure them. An excellent teacher will have many activities up their sleeves, so if one approach doesn’t work, they will try something else to engage the swimmer.

This stage is the most rewarding for your teacher – to make that breakthrough and see the swimmers achieve so much, it’s what swimming teaching is all about!


What parents can do

Be prepared…

These beginning stages cannot be rushed. It’s so important that swimmers feel comfortable and confident in the water and that means going at the pace of the swimmer. In some cases, this can take up to a year to achieve. If this process is pushed forward too quickly, it’s very likely the swimmer will lose their nerve and refuse to go. Sometimes it feels like ‘slow progress’ but it’s essential that you persevere as there are so many positive results to be gained from sticking with lessons.

Get wet – have fun…
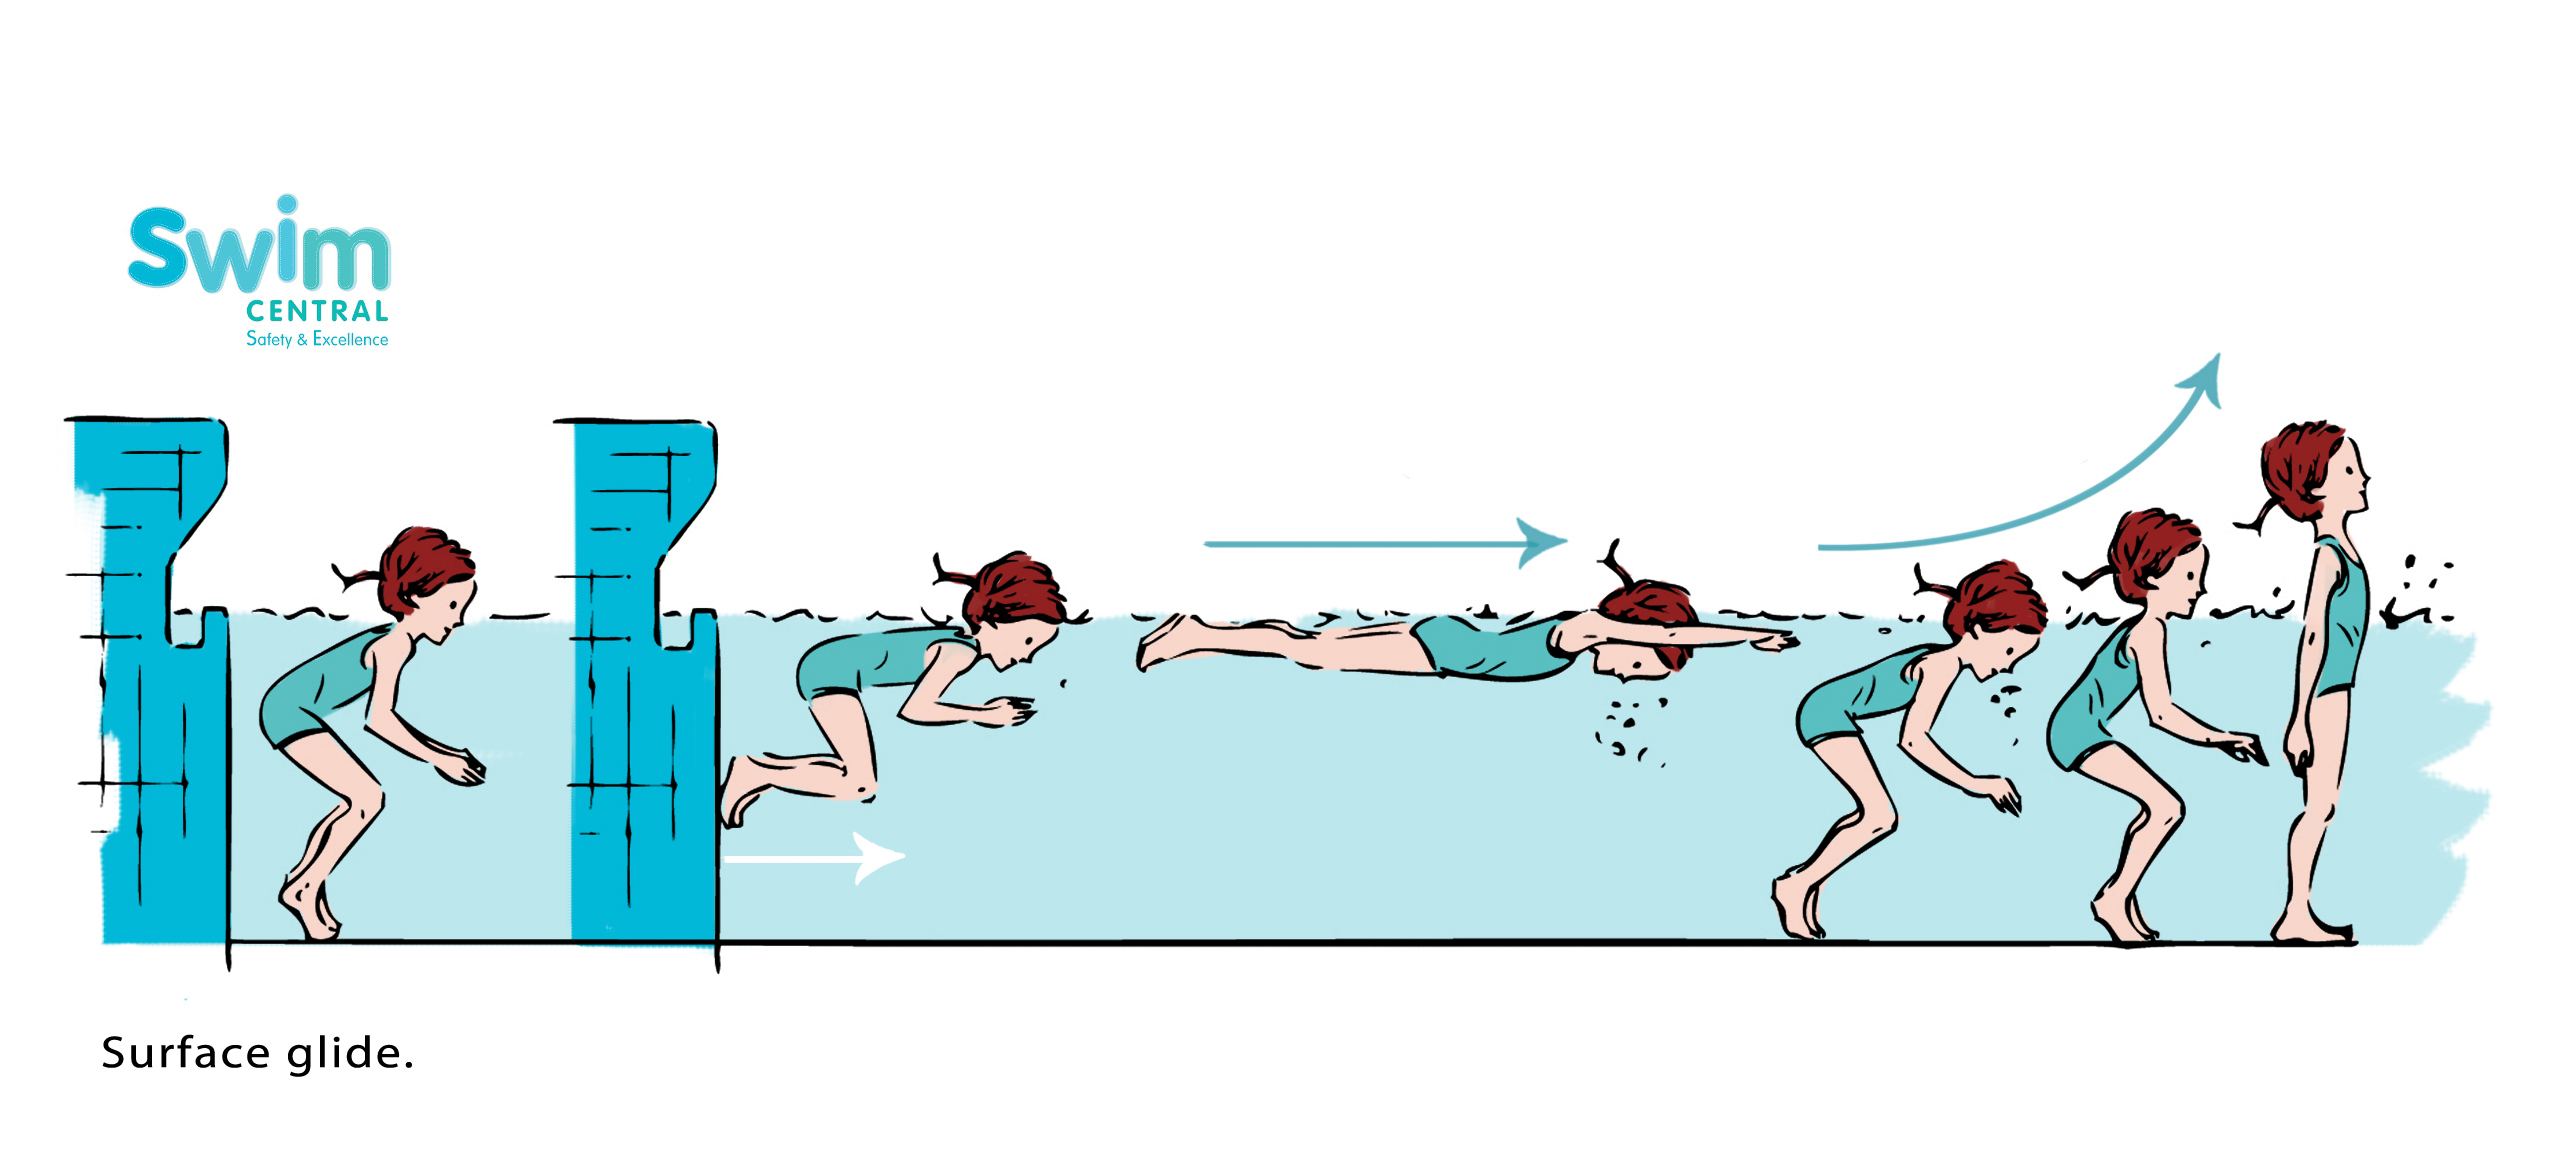
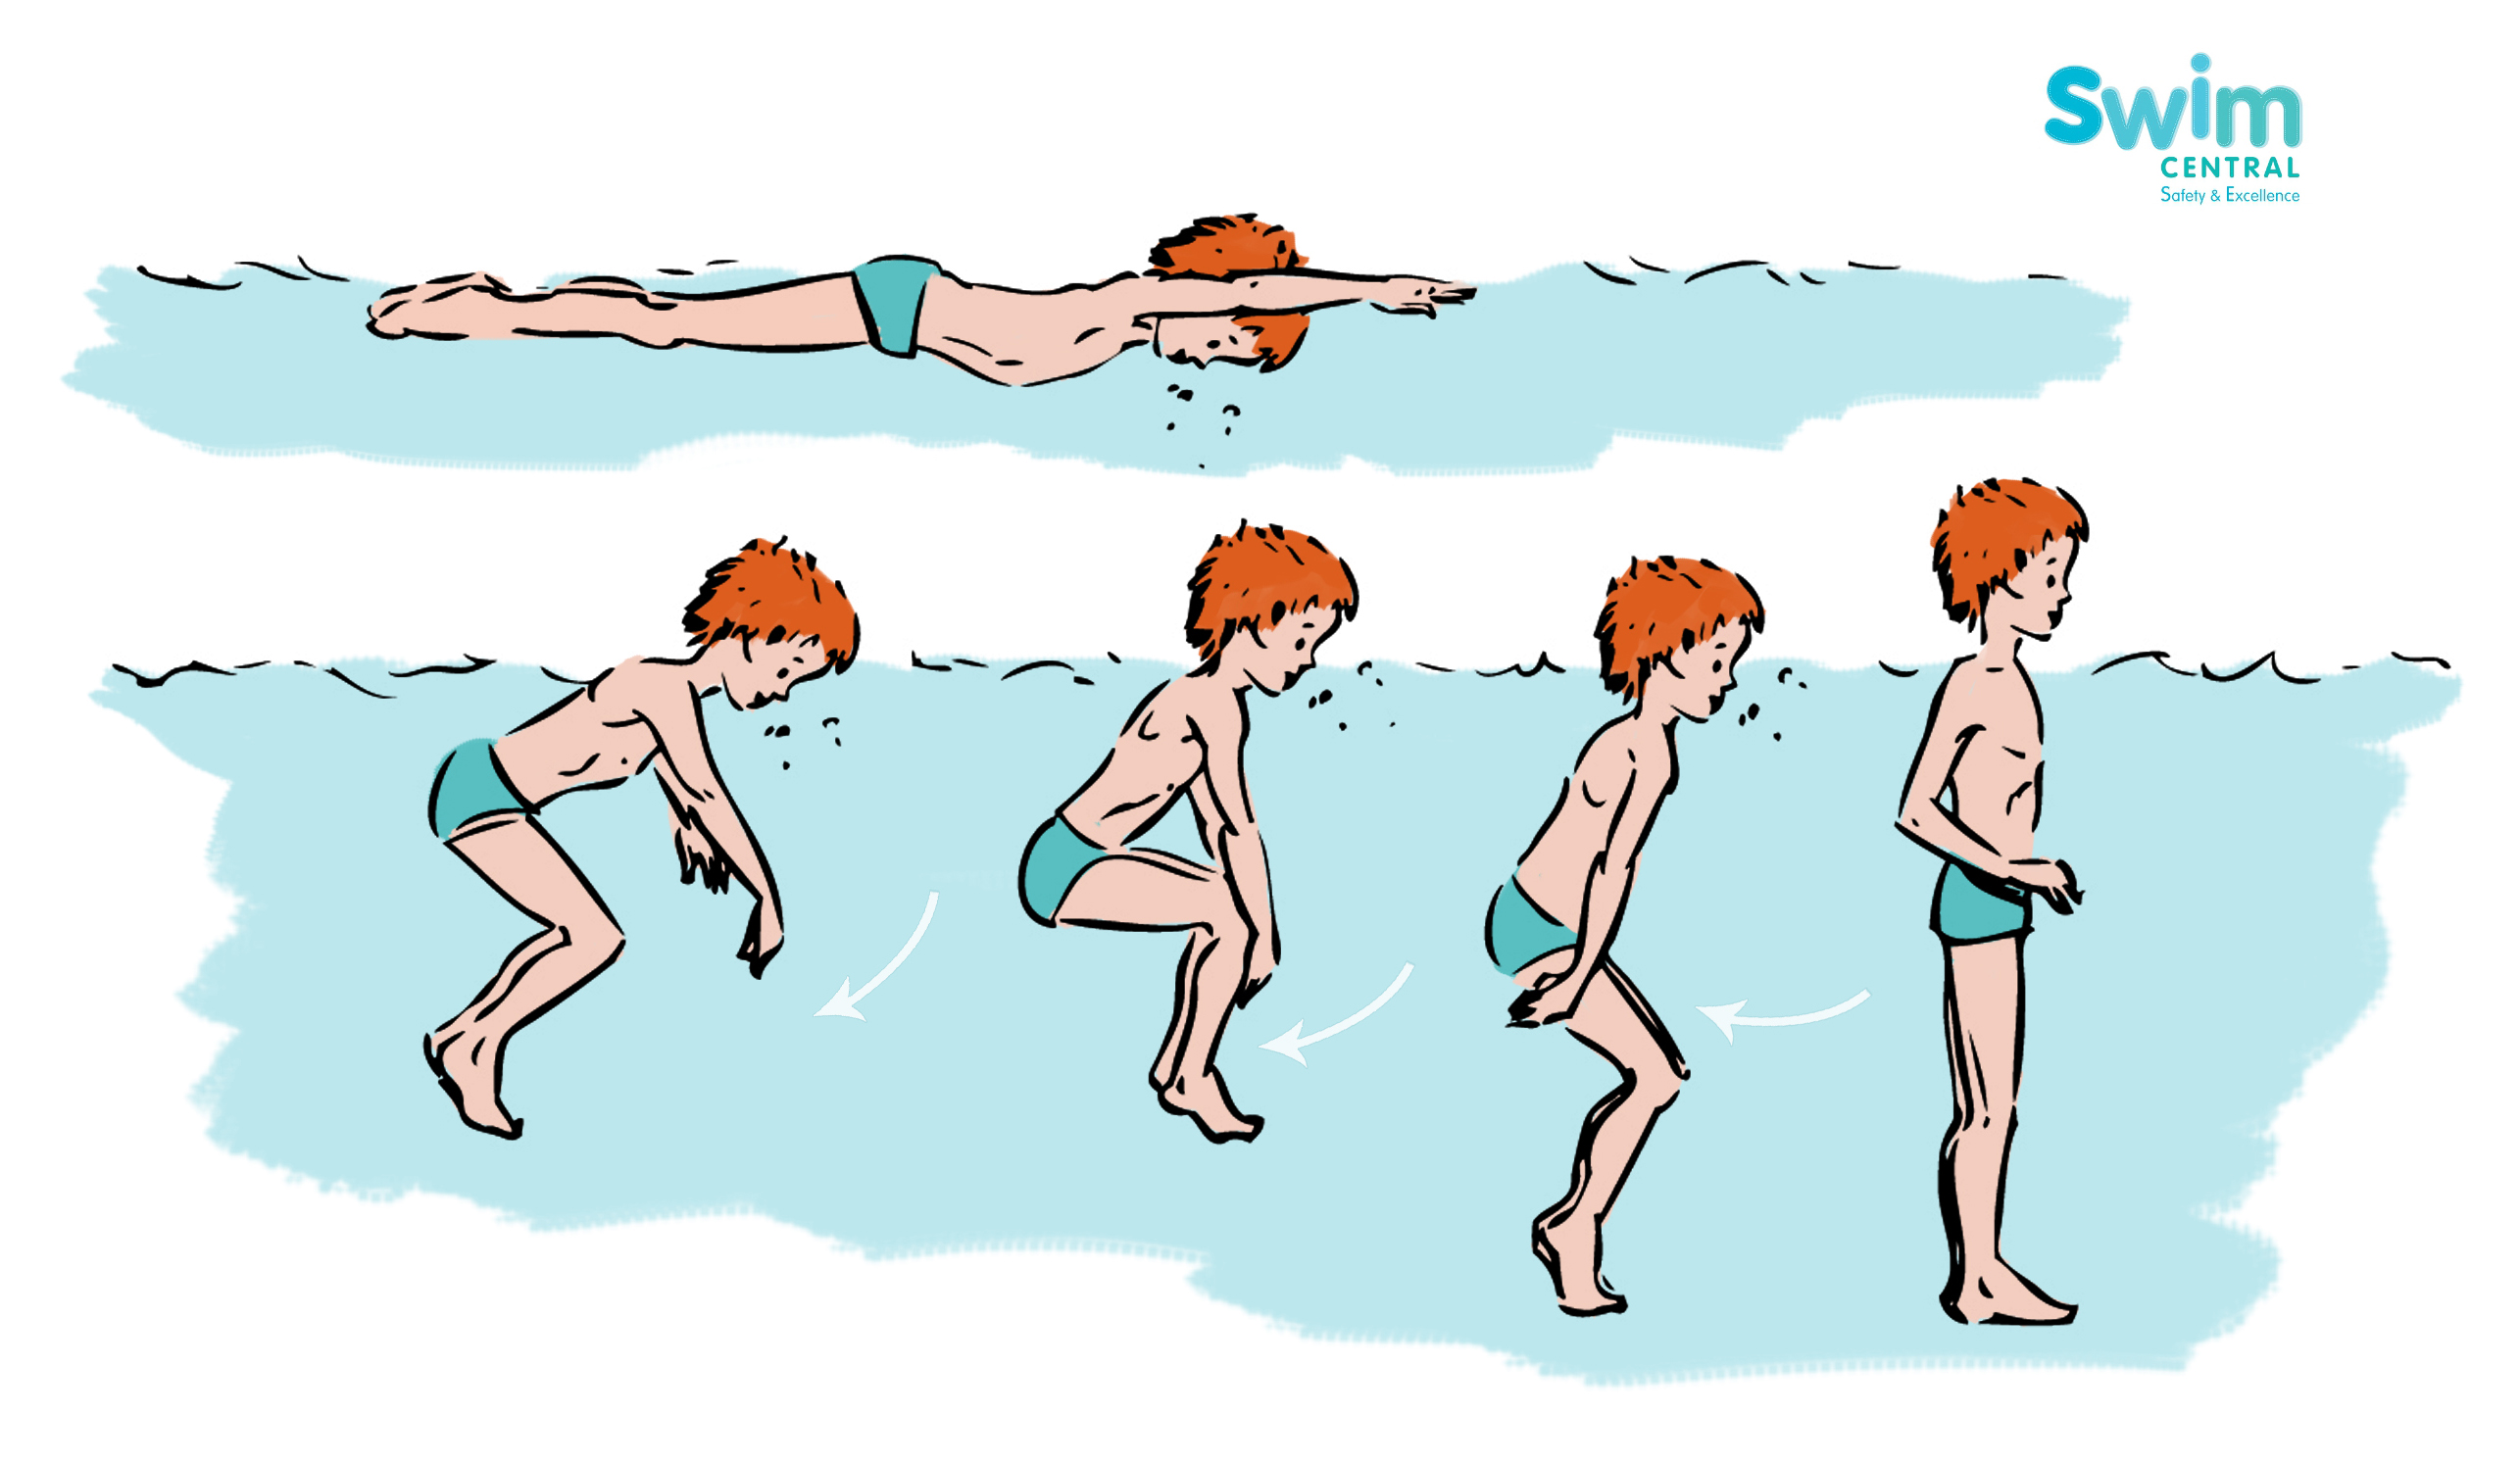
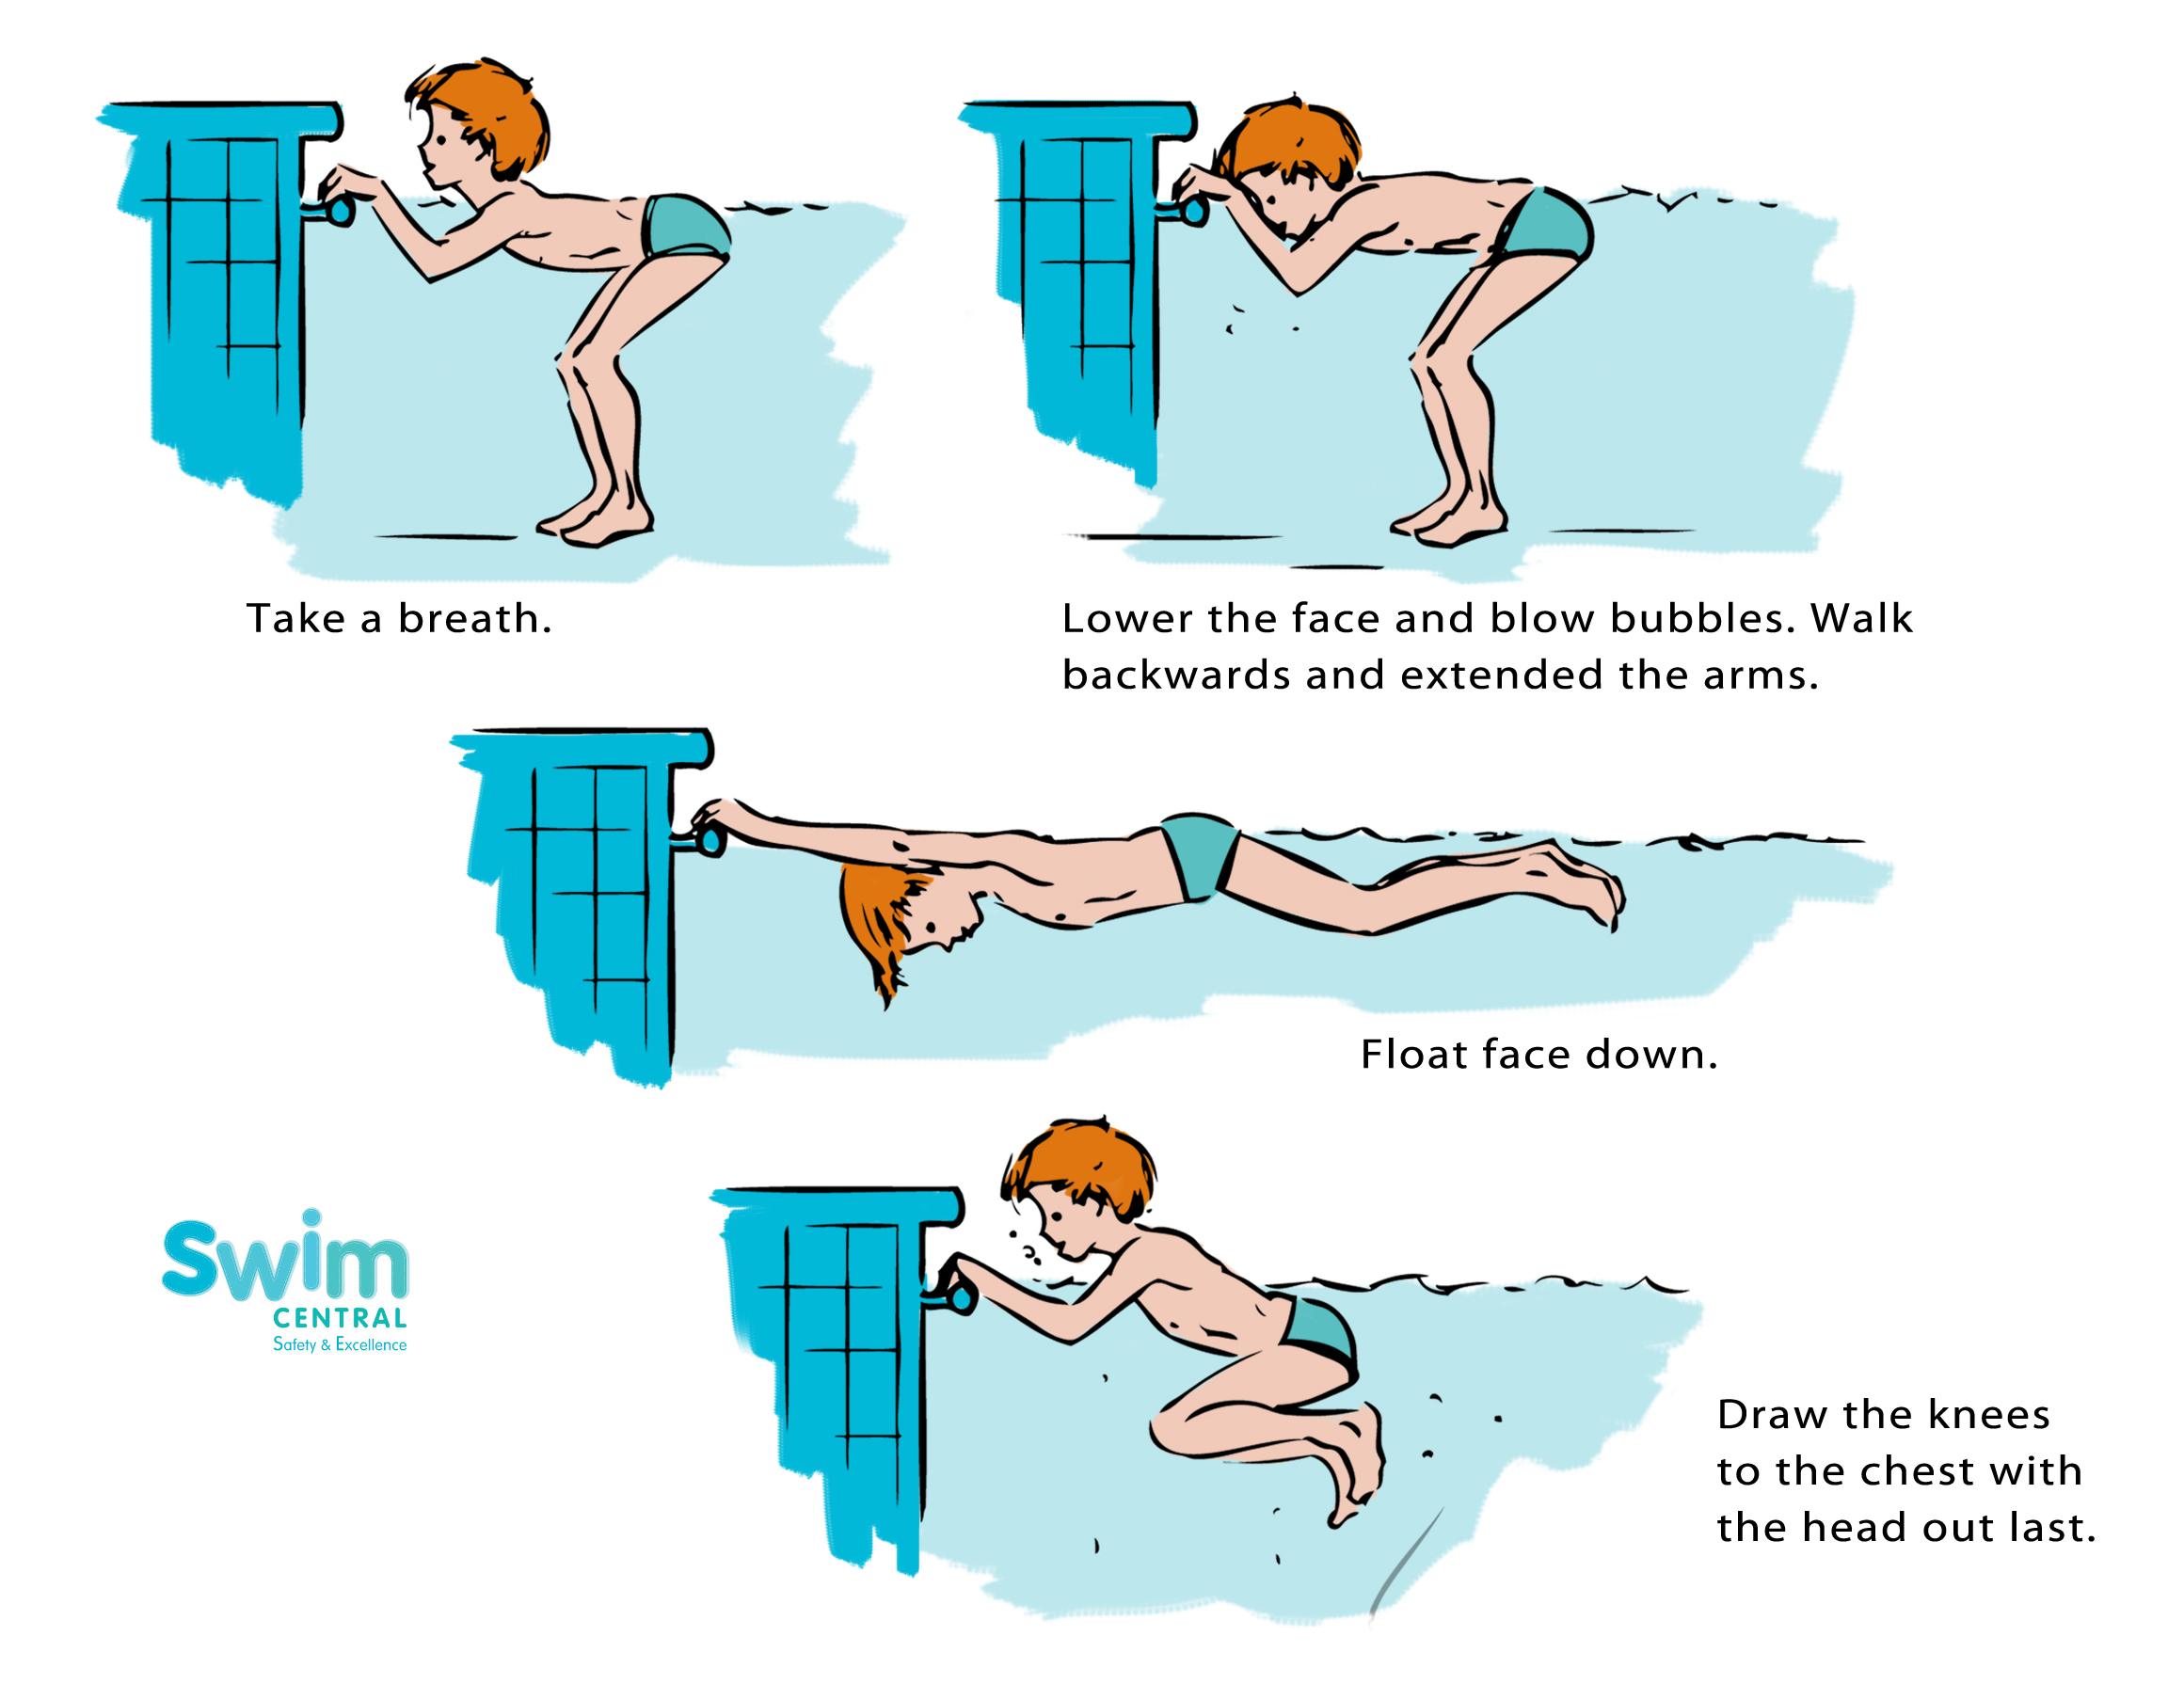
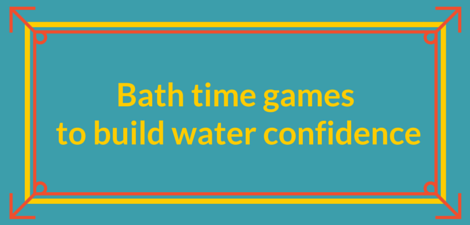
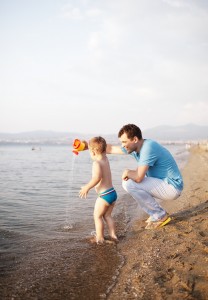
Fun and games are essential for learning. Much more is gained from swimmers enjoying their time in the water than being fearful of it. New skills can be introduced through games and even the most cautious of swimmers can be caught up in the moment and forget their anxieties while a game is going on.

So don’t just rely on the lessons (however excellent they may be!)
Go swimming with your children, show them how much fun can be had and they will develop confidence and skills quickly with your boundless encouragement and gentle support.

15 steps to facing the water

15 steps to water confidence

Bath time games to build water confidence

Bath time games to build water confidence

Many children become anxious about being splashed or putting their face in water. Much of this anxiety has to do with confidence and you can build this up yourselves at home.

If your child is nervous of water, don’t worry – they’re not the first and it’s a very natural reaction. Developing water confidence can be fun and it’s something you should enjoy together.

Commit to playing in water regularly and practice with lots of games and, in time, your child will associate water with a positive sense of fun.


Focus on your smile

First things first, put your own anxieties to one side and focus on your smile! Children follow your example and as you know, your child will look to you to see what to do next.

Laugh or cry, your reaction will affect their response – so lots of smiles and congratulations! If children are unexpectedly splashed, it will take just milliseconds to choose whether they are going to cry or not.  A quick move on your part, and a change of direction: a toy or activity and lots of positive reinforcement, will redirect their focus.


Don’t rush

Children need to feel safe and discover the water for themselves. Their apprehension is healthy so don’t force an activity if you sense any fear or tension. Instead, develop their interest by having fun yourself! Your child will (eventually!) follow your lead.

With each little success they will realise they are capable of achieving much more. Praise, giggle or make a fool of yourself to get them laughing!


Bath time games to build water confidence:

If you’re just starting out, or let’s say you want to reinforce the activities learnt during your swimming lesson, bath time is a great place to start building confidence.
Your child is in a familiar place where they feel safe, plus the water is nice and warm.

1. Blowing bubbles: image

a. With soap: rub a bar of soap into your hands, create a triangle
with your thumbs and index fingers and blow – how big a bubble can you make?

b. Making bubbles in the bath water – blowing out into the water and making lots of silly noises!

2.Pouring water over the head – a series of games: 

a. Pouring water over your hand – catching the water, then opening fingers and letting it go (where did it go?)

b. Pour water over their elbow

c. …then shoulder,

d. …then I’m afraid the next step is for your child to pour water over your head first as this is loads more fun for them

e. Progress from pouring water over parent’s head to child’s – better for them to pour water over their own head if they’re willing, rather than the parent doing the pouring. Continue reading “Bath time games to build water confidence”