Water confidence in 3 simple steps

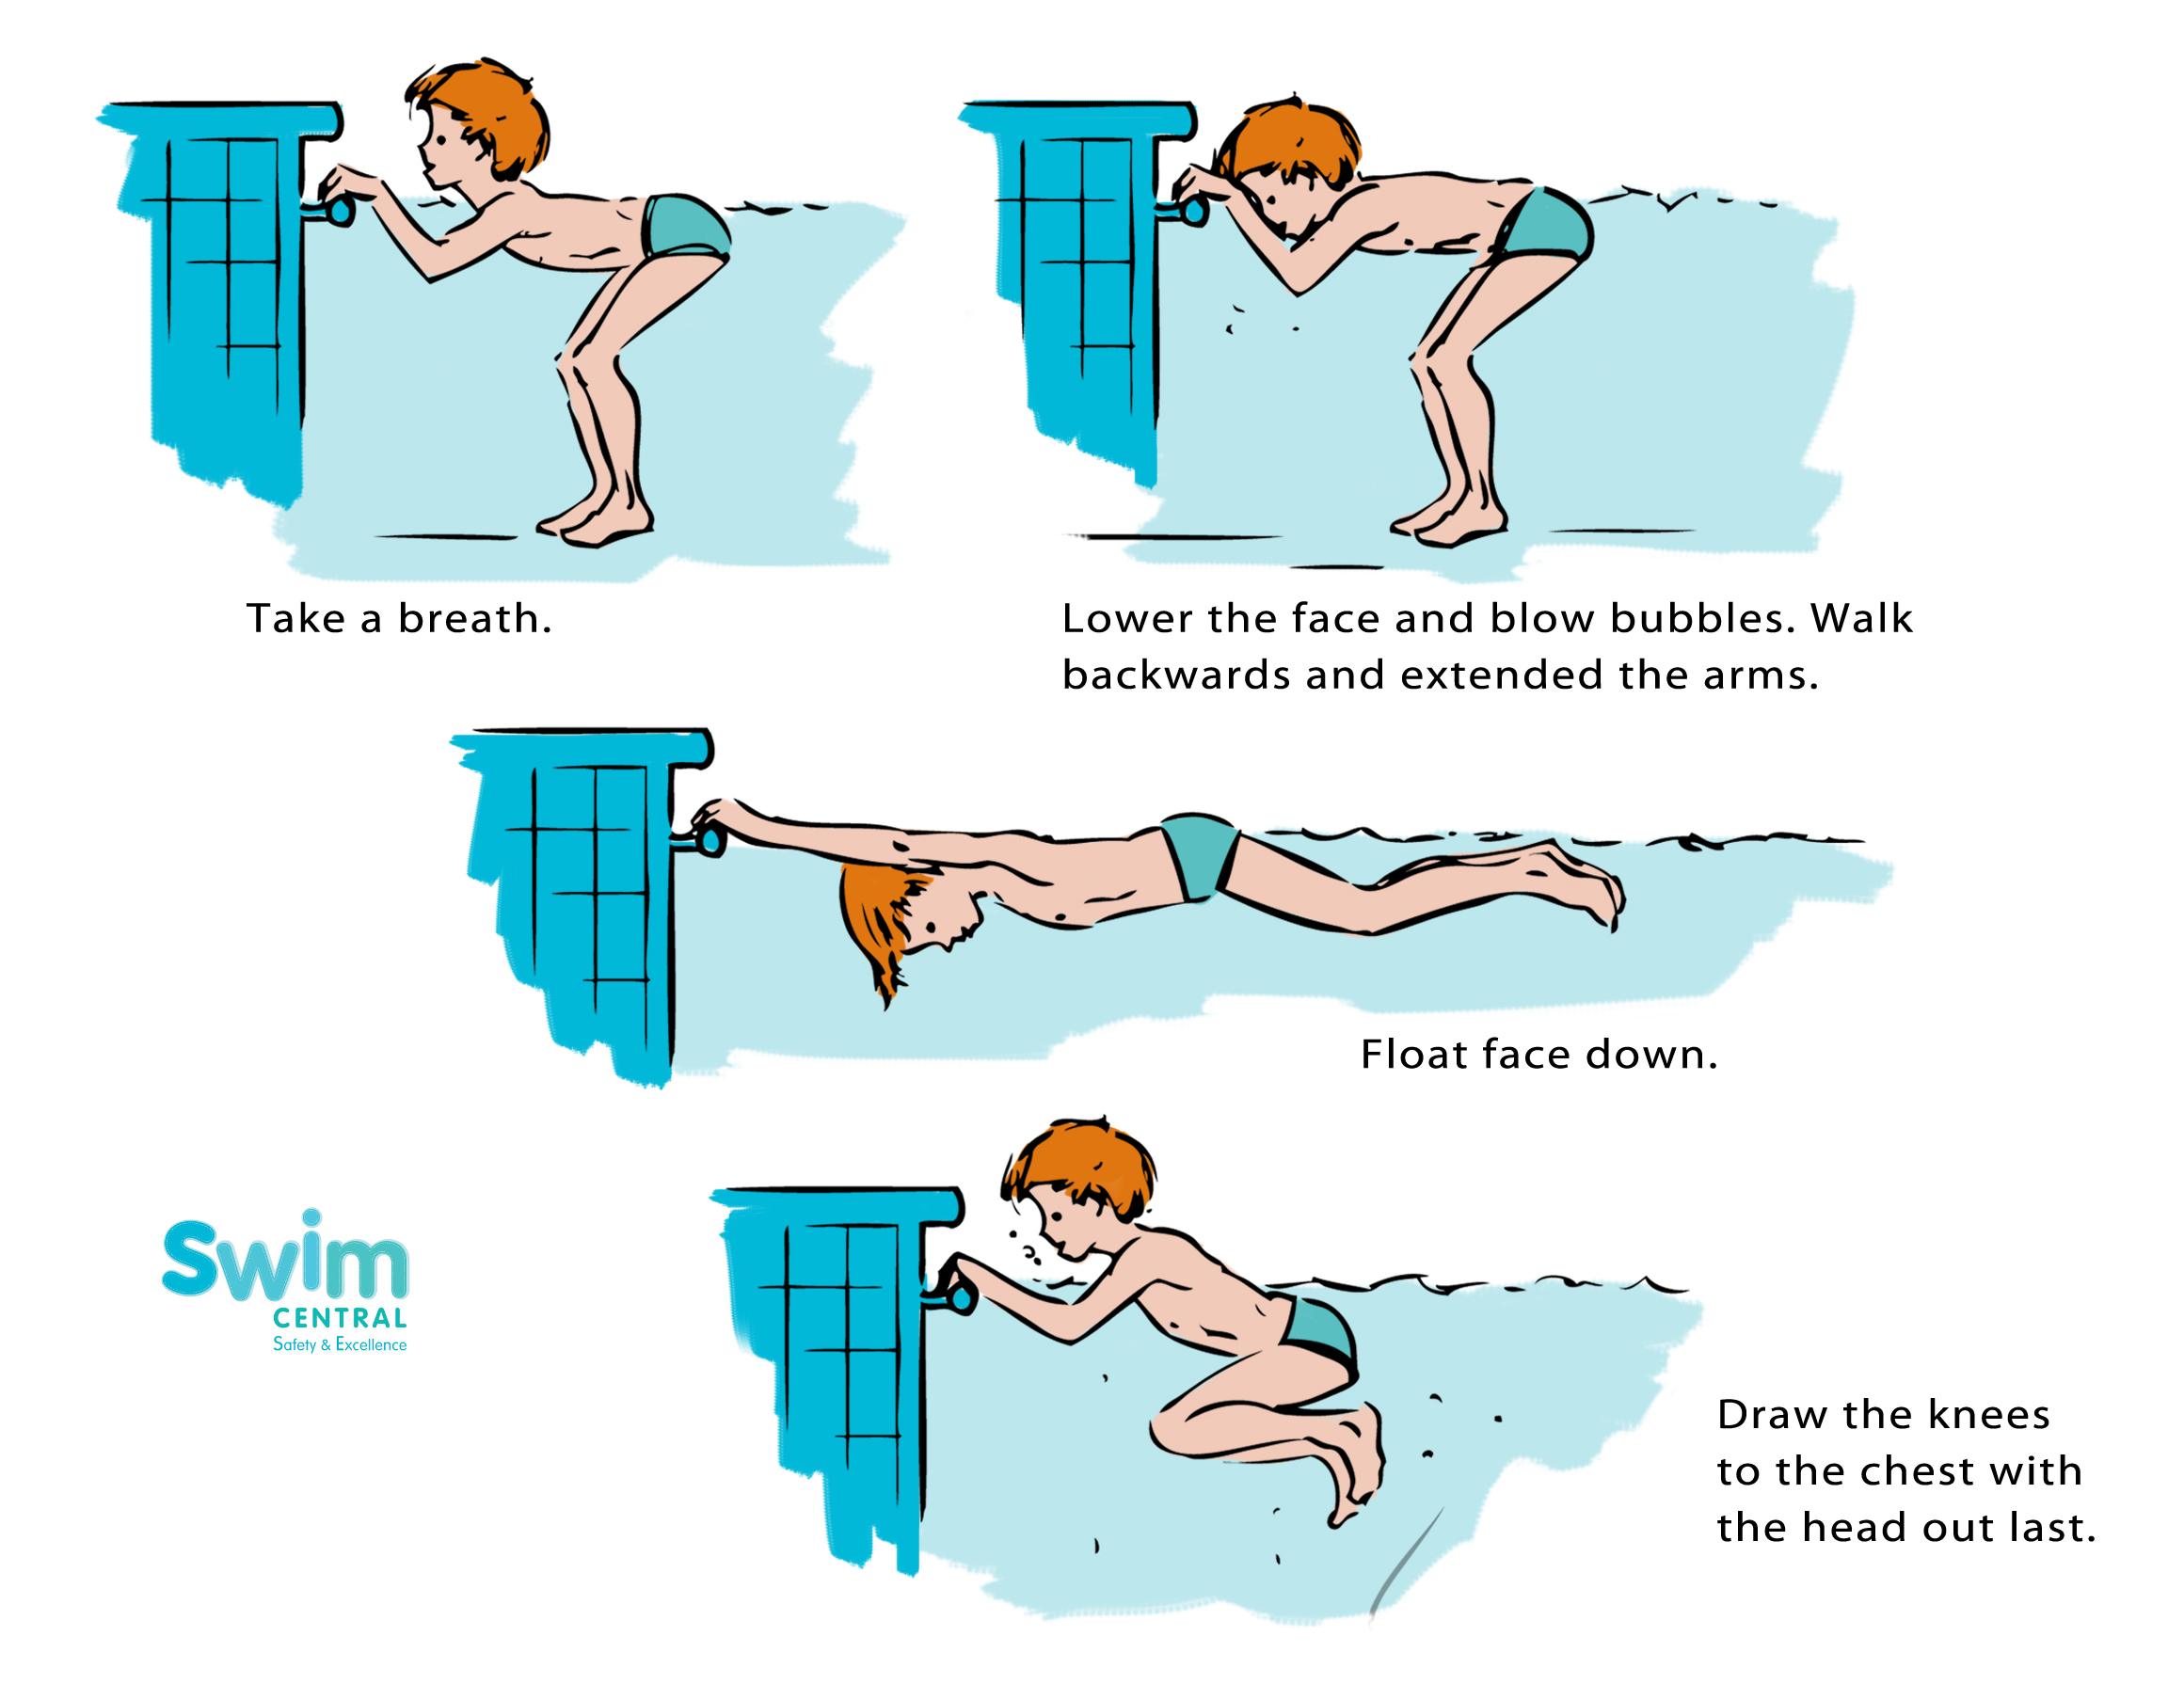
Putting your face in the water is the first step to a perfect swim position.

Try these 3 simple steps to getting comfortable with water… You Can Do This!

Remove the ‘fear factor’

  • Dislike getting water up your nose?
  • Do you hate it when water fills, or half-fills your ear canal?
  • Do you feel claustrophobic when your head is underwater?

Think it through and narrow it down – what exactly is it that’s causing you distress?

There will be a point for you where it switches from ‘I’m Okay‘ to ‘I’m really NOT Okay – get me outta here!’

Find that point for you. When you find it, work away at it. Imagine it’s like a knot in your shoulders. You must work at it, even massage it a little bit before it eases and then eventually disappears.

If we’ve described how you feel then read on because these tips are for you…

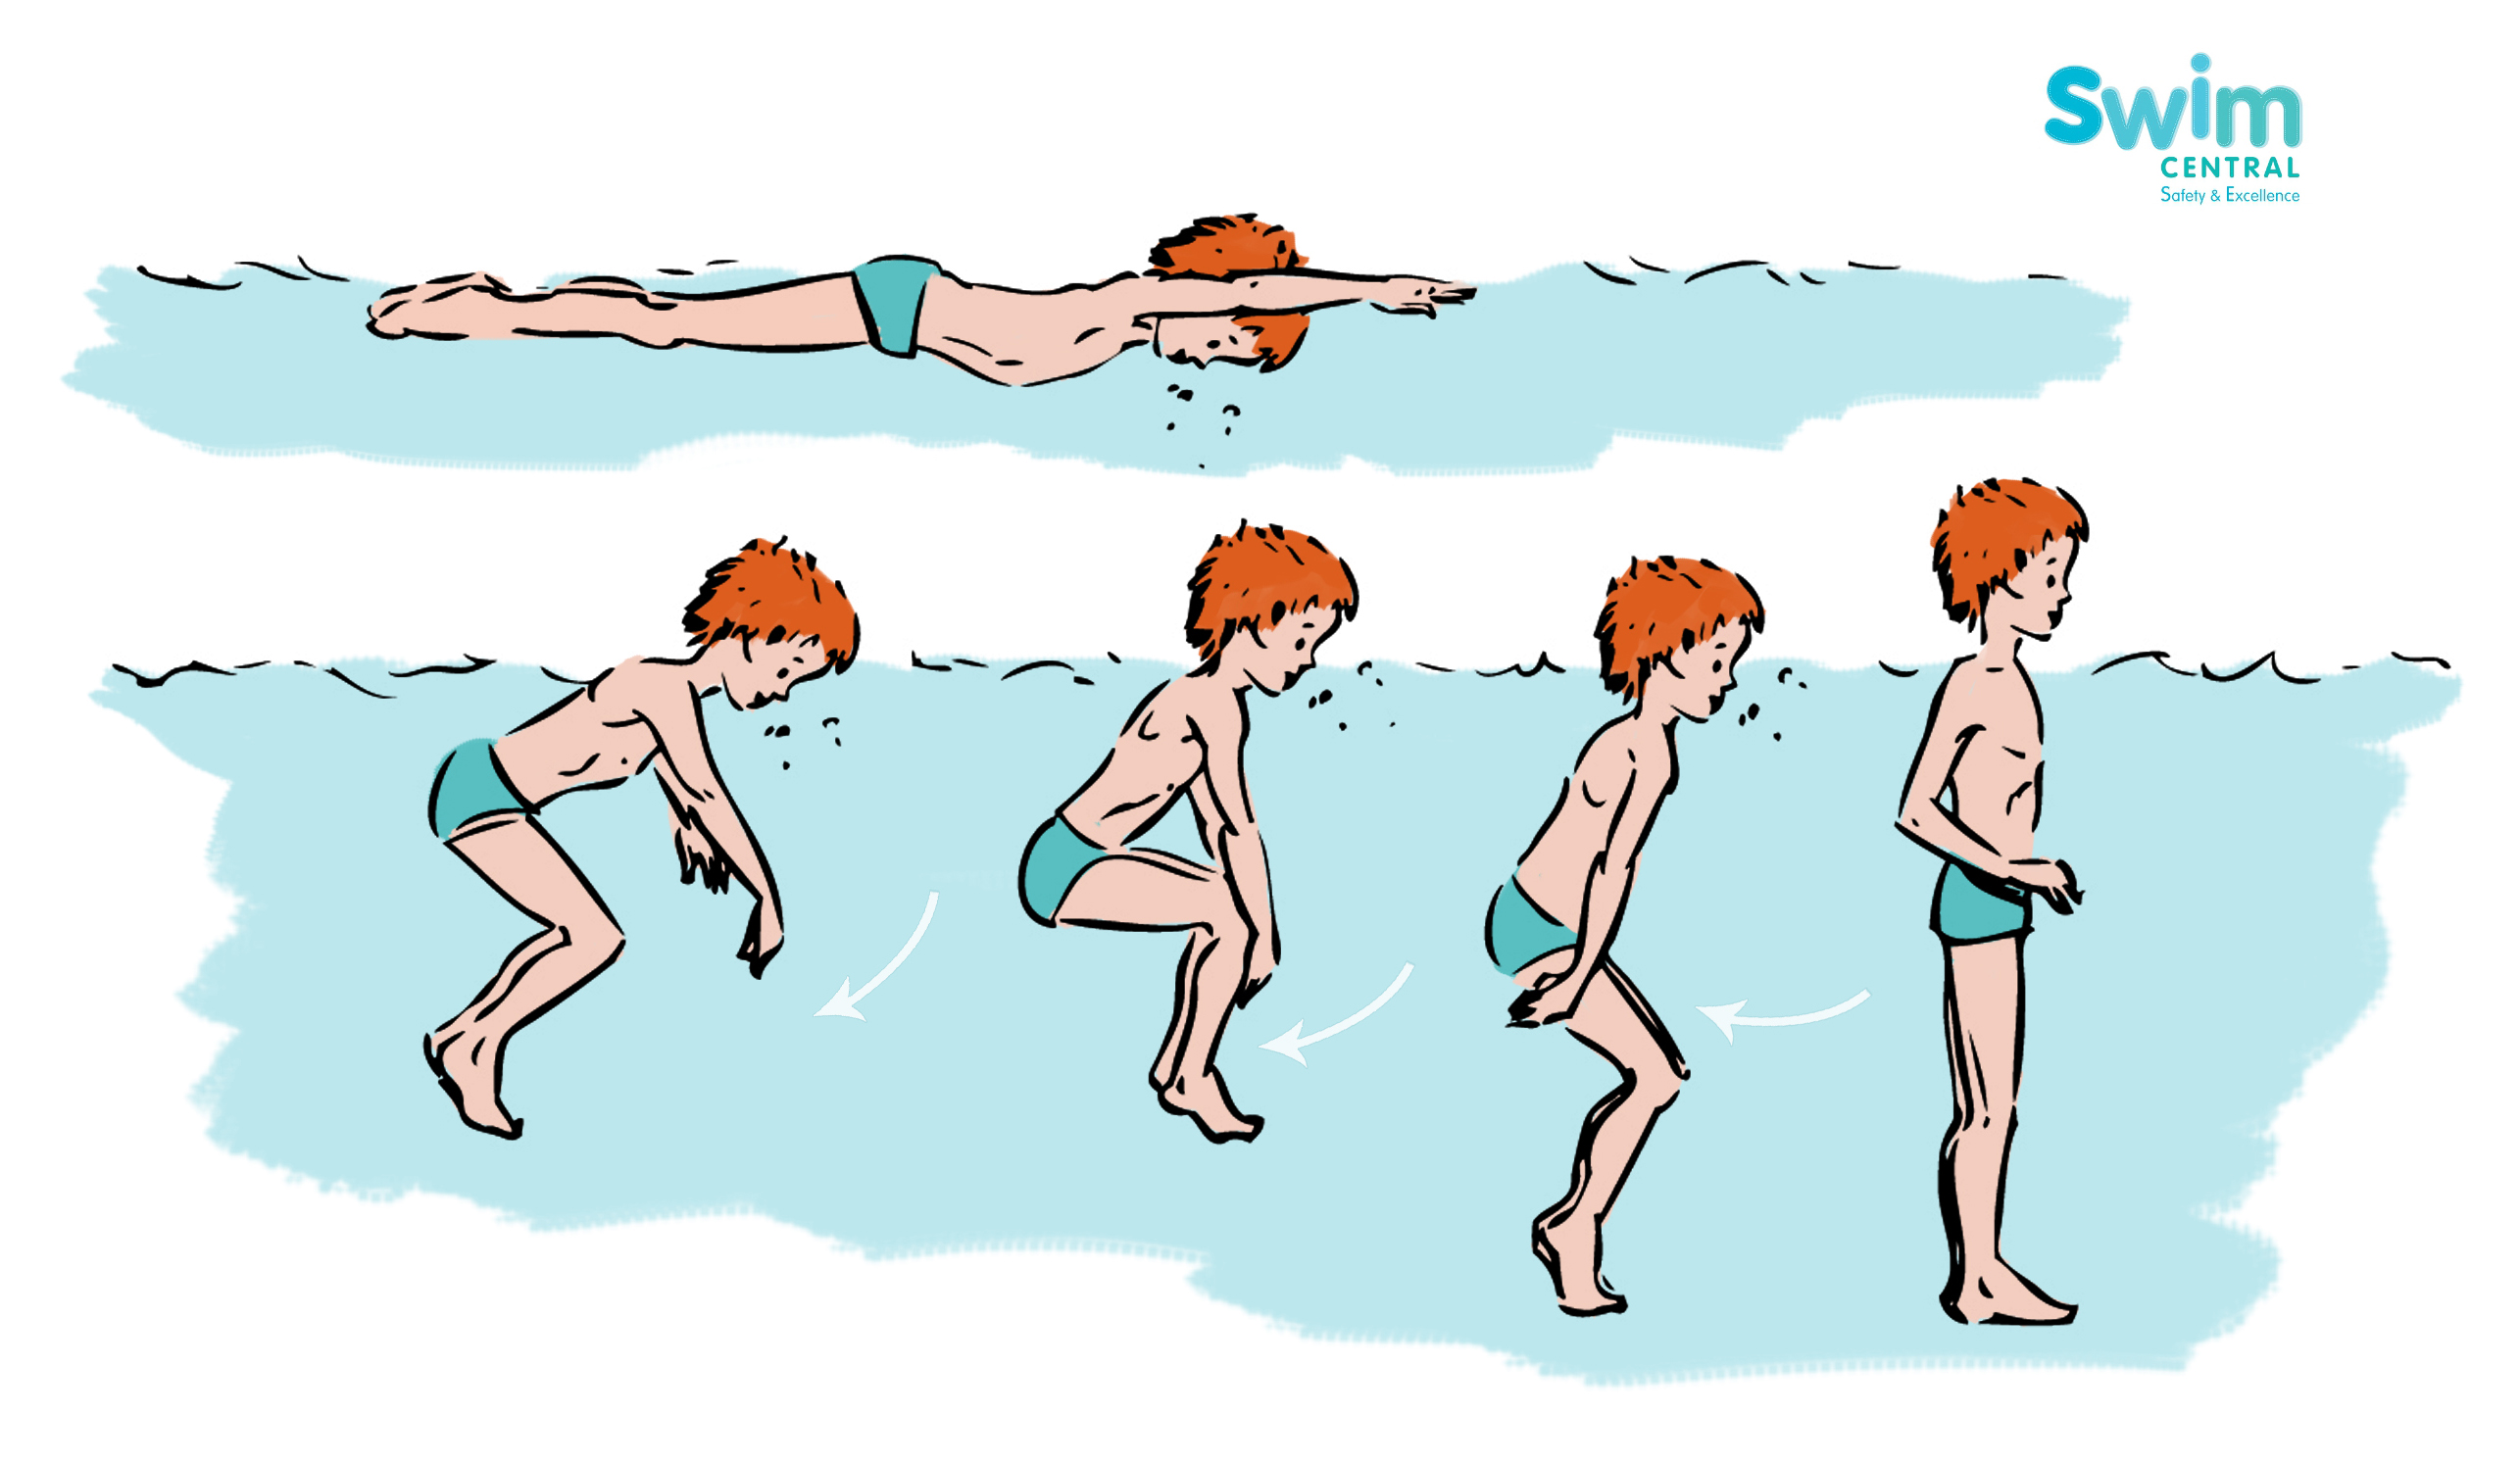
Hold on… crouch down… get wet… and FOCUS

Don’t try to swim before you can float. Floating is key and Getting Your Face Wet is the place to start.

How to get confident with water
Hold on, plant your feet. Breathe in – face in, completely – blow out through your nose.
  1. Hold onto the side and plant your feet
  2. Take a breath in
  3. Focus on the area that dislikes the water THE MOST
  4. Get that bit wet: nose, ears, forehead, eyes, chin, eyebrows
  5. Submerge your head completely
  6. Breathe out, S.l.o.w.l.y through your nose.
  7. Then back up

Focus, Soak and REPEAT

The third step? Repeat.

  1. Keep your feet planted and hold on.
  2. Don’t be tempted to do any floating – not until you’ve reduced panic to almost ZERO
  3. We always say – keep doing it until you’re bored… oh so bored. That tells you that you are no longer anxious. Tells you that the water near your ears (eyes, nose etc.) is no longer uncomfortable for you and we have cracked it!

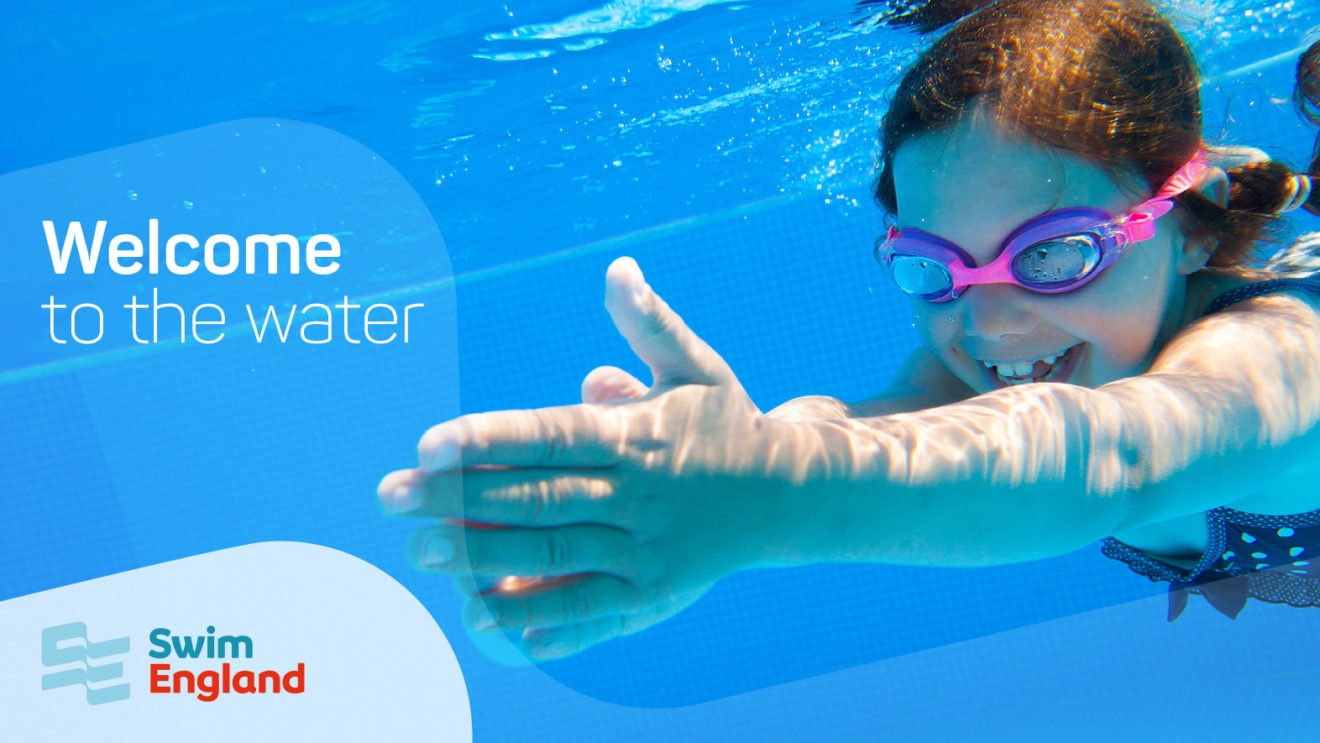
Congratulations and Welcome to the Water


The Amateur Swimming Association gets a make-over!

ASA are now Swim England

The ASA have changed their name…

Our governing body, the Amateur Swimming Association (ASA) has changed its name to Swim England. Swim England have re-vamped their website and refreshed the Learn to Swim programme that we deliver.

From September 2017, you’ll see that the outcomes for our swim stages have changed.

Swimcentral will continue to teach this proven swimming syllabus which is now known as the Swim England Learn to Swim Programme

Swim England have modified the Learn to Swim programme

Swim England have made a handful of changes to the syllabus. Some of the outcomes have been modified or made more understandable (which can only be a good thing!)

Learn more about the changes Swim England have made just by clicking here.

Swim England new badges

New swimming badges and certificates

Swim England have also re-designed the certificates and badges. They are bright and colourful and have been chosen with the help of children. The swimming certificates aimed at keeping swimmers motivated to improve their swim skills. To learn more about the new certificates and badges, please click here

What do Swim England do?

Swim England is the new improved national governing body for swimming in England. It helps people learn how to swim, enjoy the water safely and compete in all aquatic sports. You can become a member of Swim England for free. They provide hints, tips and advice from the experts about how to get more from swimming. It is aimed at the 11 million adults in England who swim regularly to help them develop and discover new ways to enjoy the water.

Swim England strives to inspire everyone to enjoy the water in the way that suits them. Through swim partners like us, they create engaging programmes that enable everyone to be active, have fun and stay healthy through swimming.

Swim England also supports its members, clubs and athletes, and runs qualification and education programmes to develop the workforce. For more information visit the Swim England website.

Swimming basics: push and glide

The best way to start

As for all strokes really, the first place to start is with a ‘push and glide’ through the water. To achieve this, you’ll need to be able to:

  • Understand your own buoyancy
  • Happily move away from the wall/floor and let the water support you
  • Place your face in the water

A push with the feet from a wall or floor will propel the swimmer forwards.


Here’s our guide to a push and glide!

Push and glide, step by step

  • Feet on the floor with knees bent or feet flat against a wall. You can hold onto the wall with one hand for support if you like.
  • Breathe in and place your face in the water
  • Stretch both hands out in front of you, making a triangle.

…and at the same time…

  • Push off with your feet, straighten out legs
  • Hold that position for as long as you can and ENJOY your glide!

How to stop…

a

  • Push down on the water with your hands and lift your head

….and at the same time…

  • Bring your knees up to your chest
  • Feet flat on the floor
  • Pat yourself on the back, well done!

For some beginners

This can be a daunting task. It means letting go of the side and relying on the water to support you. Practicing will bring success; lots of encouragement and support will guarantee it.

Too tricky? Have a go at this…

a

Try holding onto the side, placing your face in the water and just allow your feet to come up to the surface. Practice this a number of times until you start to feel confident.


Practicing with children?

  • Glide together to start with.
  • Glide a short distance towards the wall.

They will feel more comfortable. Just think how you’d feel if you had to venture out into a large expanse of water on your own! Show them the goal to begin with and you’ll find them much happier to try this technique!


What to look for:

  • Spine should be flat with face in the water up to the hairline.
  • Arms should be straight and hands joined at the top in a ‘rocket’ shape. Fingers extended.
  • Legs should be straight, not bent at the knee and toes pointed.

Correcting common problems:

If the swimmer is nervous, you’ll see them quickly flick their heads back as they come up. You’ll see tension in their body as they hold themselves rigid in the water. They will be more likely to cling to you.

If this happens:

  • go back a few steps until they are confident
  • practice putting faces in the water until this action becomes more familiar
  • go back to gliding to the wall together
  • try shortening the distance of the glide